
Last Updated: November 2, 2026
Quick Summary
To photograph windshield damage for a repair quote, wipe the glass, shoot straight on, tap to focus, and take both a wide shot and a close-up. Add a coin or ruler beside the chip or crack for scale, and shoot from inside and outside. Text your windshield damage photos to (469) 919-2383 for a quick first assessment and quote.
- Stand about three to four feet back for a wide shot showing where the damage sits.
- Move within a few inches for close-ups instead of zooming with your fingers.
- Place a coin flat beside the chip, not on top of it, and shoot straight down.
- Use side light or open shade, and turn off your phone's flash for close-ups.
- Include your vehicle year, make, and model plus the damage location in your text.
Table of Contents
- Why Clear Windshield Damage Photos Speed Up Your Quote
- Windshield Damage Photo Tips: Angles, Focus, and Framing
- Inside and Outside Windshield Damage Photos: Why You Need Both
- Lighting That Makes Chips and Cracks Show Up
- The Windshield Chip Size Reference Photo: Using a Coin or Ruler for Scale
- Getting Your Windshield Repair Quote by Text
- Text Your Photos to ClearPath Mobile Auto
- Frequently Asked Questions
Why Clear Windshield Damage Photos Speed Up Your Quote
A sharp photo of the chip or crack is the fastest path to a real number.
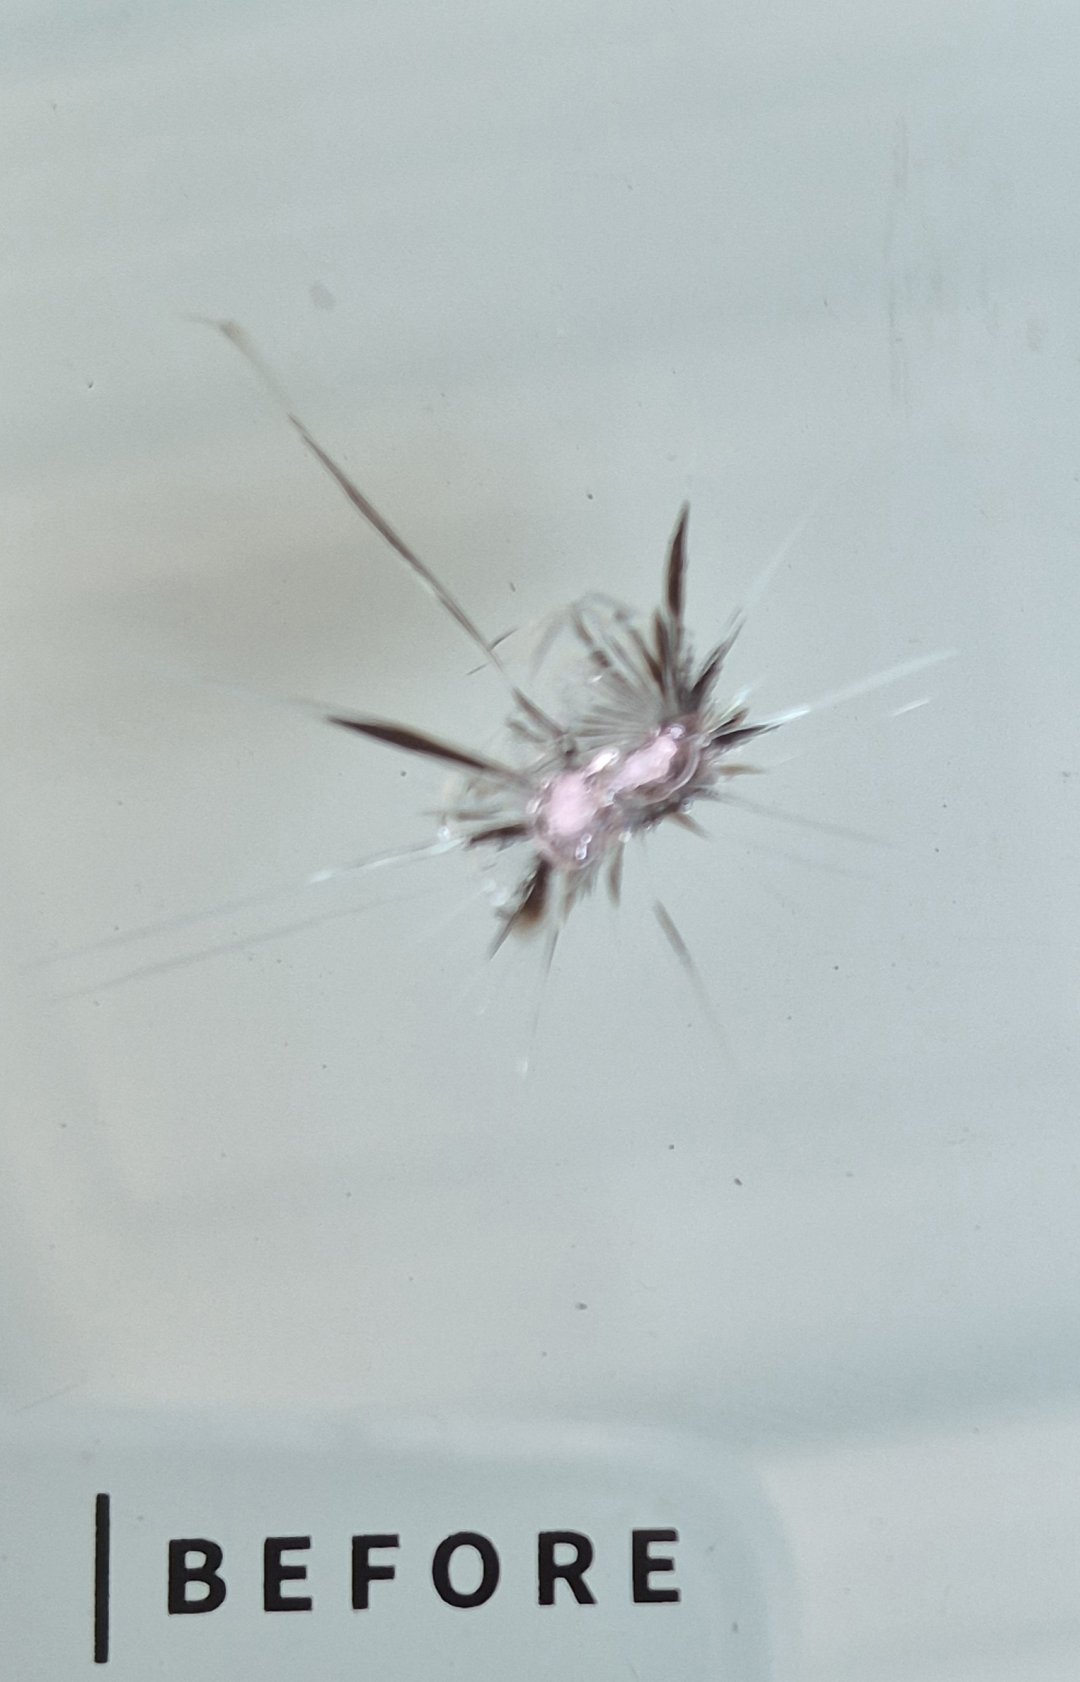
A photo is a starting point, not a verdict. It tells us the damage type, roughly where it sits, and how big it looks. Details such as contamination and edge involvement get confirmed in person.
So the goal is simple. Send photos good enough that our first read is close, and you avoid a back-and-forth of "can you send another one?"
What a Photo Can and Cannot Tell a Technician
A photo can show location. Distance from the edge and position in the driver's line of sight both matter for repairability.
A photo can show approximate size. With a coin or ruler in frame, we can estimate chip size and crack length.
A photo cannot confirm repairability. Repairability depends on location, edge involvement, contamination, and condition, and is confirmed in person.
That gap is normal. Send us what you can, and we will tell you what still needs checking.
Windshield Damage Photo Tips: Angles, Focus, and Framing
Good windshield damage photos come down to three things: get the whole story in one wide shot, then move in close, then hold still. Most bad photos fail on focus, not on the phone. Here is how we would shoot it.
- Wipe the glass first. A dry microfiber cloth removes dust that reads as scratches.
- Shoot perpendicular to the glass. Straight on beats a steep angle every time.
- Tap to focus on the damage. Do not let the camera pick the dashboard.
- Hold steady for a second. Most phones need a moment to lock focus.
- Take more than one. Three or four shots cost nothing.
A common mistake is shooting through a dirty windshield from outside on a bright day. The reflection wins and the chip disappears.
Wide Shots That Show Where the Damage Sits
Start wide. A wide shot should include the whole windshield and enough of the hood or roofline that we can tell which glass we are looking at and where the damage sits.
Stand about three to four feet back. Fill the frame with the windshield, not the whole car. If the damage is near the edge, make sure the edge is visible in the shot.
This shot answers one question: where is it?
Close-Ups That Make the Chip Legible
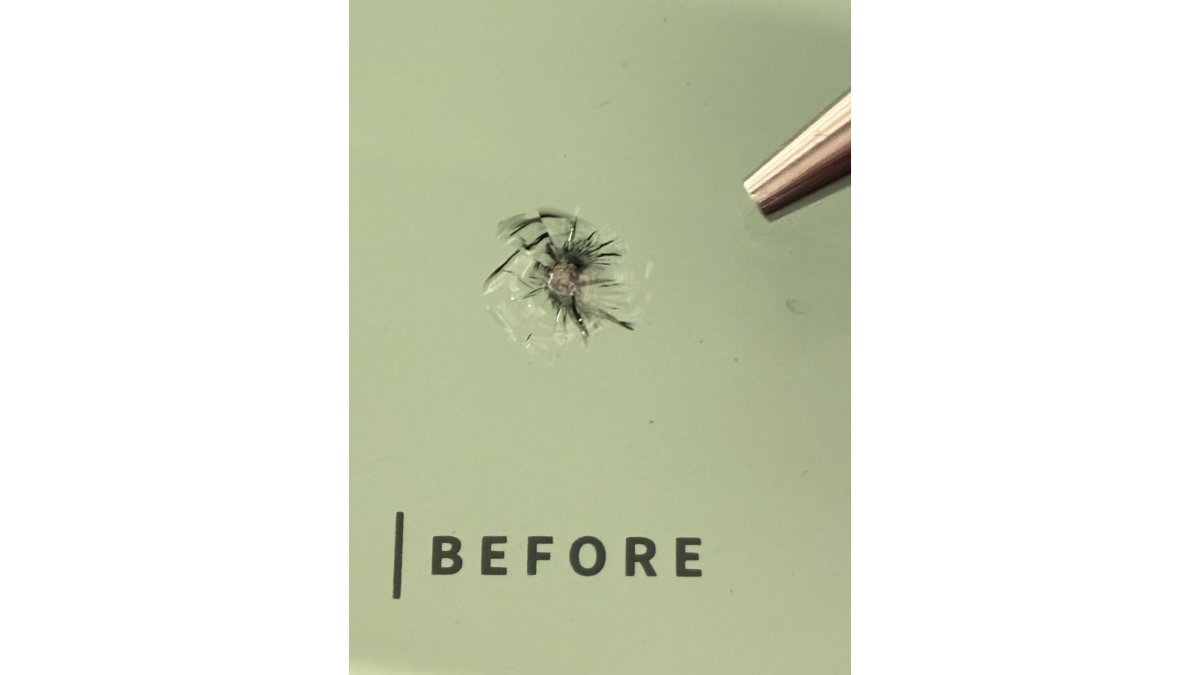
Now move in. Get within a few inches and let the damage fill a good part of the frame. A close-up should show the shape of the chip, the legs of a star break, or the full run of a short crack.
Watch out: zooming in with your fingers instead of moving closer usually turns a sharp chip into a soft blob. Walk in, don't zoom in.
Inside and Outside Windshield Damage Photos: Why You Need Both
Inside and outside windshield damage photos show two different things, and we want both. From outside, we see the surface break and its shape. From inside, we see how light passes through the damage and whether it has started to separate.
Shooting from inside is easy:
- Sit in the driver's seat or lean across from the passenger side.
- Point the phone at the damage from the interior surface.
- Keep the exterior in the background so we can match the two shots.
- Avoid pressing the phone against the glass, which causes shake.
If the damage sits low on the passenger side, a shot from the passenger seat works better than reaching across. Take it from where you can hold the phone steady.
Lighting That Makes Chips and Cracks Show Up
Lighting is the difference between a photo that reads and one that looks like a blank white sheet.
Natural light from the side is your best starting point. Direct overhead sun blows out the glass, and deep shade hides the break entirely.
Try these in order:
- Open shade outdoors. Park facing away from the sun so the light comes across the glass.
- Overcast daylight. Cloud cover softens glare and evens out reflections.
- A garage with the door open. Even light, no direct beam, and no sky reflection.
- A flashlight at a low angle. Rake the beam across the glass from the side to catch the crack.
Glare is the enemy. If the whole windshield turns into a white sheet in your photo, change your position, not your phone. Move a few feet to the side, lower the phone, or step so your body blocks the sky reflection.
When the Weather Will Not Cooperate
Rain and darkness make this harder, not impossible. You do not need perfect conditions to send a usable photo.
- Rain. Dry the spot with a microfiber cloth, shoot from inside the car with the wipers off, and keep the exterior in the background so we can match the shot to the outside view.
- Darkness. Use a flashlight held low and to the side, not pointed straight at the glass. Take the shot from inside with the dome light off so the interior does not reflect back at the camera.
- Heavy glare at any hour. Cup your free hand around the phone to shade the lens, or shoot from the shaded side of the vehicle.
Watch out: pointing a flashlight straight at the damage flattens it into a bright spot. Angle the beam across the glass so the edges of the chip or crack cast a small shadow and become visible.
If the photo still will not come out after two or three tries, say so when you text. We would rather know the conditions were poor than guess from a bad image. A quick note like "couldn't get a clear shot in the rain" tells us to ask for a different angle or plan an in-person look.
One more lighting habit worth building: turn off your phone's flash for close-ups. The flash fires straight into the glass, bounces back, and buries the damage in a hotspot.
The Windshield Chip Size Reference Photo: Using a Coin or Ruler for Scale
Scale is the single most useful thing you can add to a photo. A quarter, a penny, or a small ruler laid right next to the damage gives us a real size to work from instead of a guess.
Place the coin flat on the glass beside the chip, not on top of it. Keep both the coin and the damage in focus. Shoot straight down so the coin is not distorted by angle.
Framing the Scale Shot for Chips
A chip scale shot works best when the coin and the damage sit in the same focal plane.
Take one tight shot with the coin and one slightly wider shot that shows the coin, the chip, and a bit of the surrounding glass. The wider shot helps us judge distance from the edge of the windshield, which matters for repairability.
Framing the Scale Shot for Cracks
For a crack, lay a ruler along the length of the line and shoot the whole run. Keep the ruler parallel to the crack so the markings line up with the ends.
If you do not have a ruler, a coin works as a repeating reference.
Watch out: shooting the scale reference at a steep angle makes the coin look oval and the crack look shorter than it is. Shoot straight down, or as close to perpendicular as you can get.
Showing Location Along With Size
Size alone does not tell the whole story. A chip two inches from the edge of the glass is a different repair question than the same chip in the middle of the windshield.
Crack length affects the price, which is why this shot matters. A photo with a ruler gets you a closer first quote.
If the damage sits low on the passenger side or high near the roofline, say so in your text message.
Here is how to frame the scale shot so the size reads correctly.
| Damage type | Reference to use | How to frame it |
|---|---|---|
| Chip | Quarter, penny, or small ruler | Coin flat beside chip, both in focus, shoot straight down |
| Chip | Coin just outside chip's edge | Phone six to eight inches away, tap to focus on chip |
| Crack | Ruler along the length of the line | Keep ruler parallel to crack, shoot the whole run |
| Crack longer than ruler | Two shots | Tell us roughly where they overlap |
| No ruler | Coins end to end | One coin at start, one at end, count coin lengths |
| Any damage | Nearest windshield edge | Include damage, reference object, and edge in one frame |
Getting Your Windshield Repair Quote by Text
Texting photos is the whole process. Send your shots to (469) 919-2383 and include a few details in the same message. We use them to give a quick first assessment and quote.
Include these with your photos:
- Vehicle year, make, and model. It helps us match the glass.
- Where the damage sits. Driver's side, passenger side, high or low.
- When it happened, if you know. Fresh damage and old damage look different.
- Your name and the best number to reach you.
You do not need to send insurance information for a quote. We do not bill insurance or file claims.
Chip repair starts at $89, and each additional chip is $30.
Visit the ClearPath Mobile Auto website for current pricing or a quote.
Text Your Photos to ClearPath Mobile Auto
ClearPath Mobile Auto is a one-technician mobile repair service based in Anna, serving North Collin County and nearby communities.
Here is what to expect after you text:
- A first assessment based on your photos, same-day when available.
- A quote before anything is scheduled.
- Most chip repairs take about 30 minutes at your home or office.
- An itemized invoice you can submit yourself.
We repair qualifying chips and cracks on-site. If the damage is beyond repair, we will tell you and refer you to a trusted glass shop. You can read about our workmanship coverage.
Text a photo of the damage to (469) 919-2383 for a quick first assessment and quote. Hours are Monday through Friday, 7 AM to 7 PM, and Saturday, 9 AM to 4 PM.
Frequently Asked Questions
What angles should I use to photograph a windshield chip?
Take one wide shot from outside the vehicle showing where the chip sits on the glass, then a close-up straight on at the damage. Add a low-angle shot from the side so the chip's edges catch the light, and repeat the close-up from inside the cabin. Four angles give a technician enough to judge shape and location, which is what windshield damage photos need to be useful.
Should I take inside and outside windshield damage photos?
Yes. Inside and outside windshield damage photos show different things: the outside shot captures the surface break and its shape, while the inside shot shows the damage from the other side. Together they give a technician a fuller view of the damage before arriving.
Can a photo give me a windshield repair quote by text?
A photo supports a quick first assessment and a ballpark quote. ClearPath Mobile Auto reviews your images and gives a quick first assessment. Repairability is confirmed in person, because location, edge involvement, and contamination are checked during inspection. Text your photos to (469) 919-2383 to start.
What lighting is best for photographing a windshield chip?
Diffused daylight works best. Park out of direct sun or shoot on an overcast day so glare does not wash out the chip. Avoid shooting into a low sun or under harsh overhead lights, which create hot spots. If you must shoot at night, use a flashlight held at a low angle to the glass so the chip's edges cast a small shadow and become visible.
