Table of Contents
- Why Mobile Headlight Restoration Matters for Safety and Visibility
- Understanding Cloudy Headlight Restoration
- The Headlight Restoration Process: What Professional Service Includes
- DIY Headlight Restoration Kits vs. Professional Mobile Service
- Finding Professional Headlight Restoration Near You
- Maintaining Your Headlights After Professional Restoration
- Conclusion
- Frequently Asked Questions
Last Updated: October 21, 2026
Why Mobile Headlight Restoration Matters for Safety and Visibility
Cloudy or yellowed headlights reduce your visibility on the road, and that's not just a cosmetic problem. Dim, unevenly scattered light means compromised sight lines at night, and other drivers see you less clearly too.
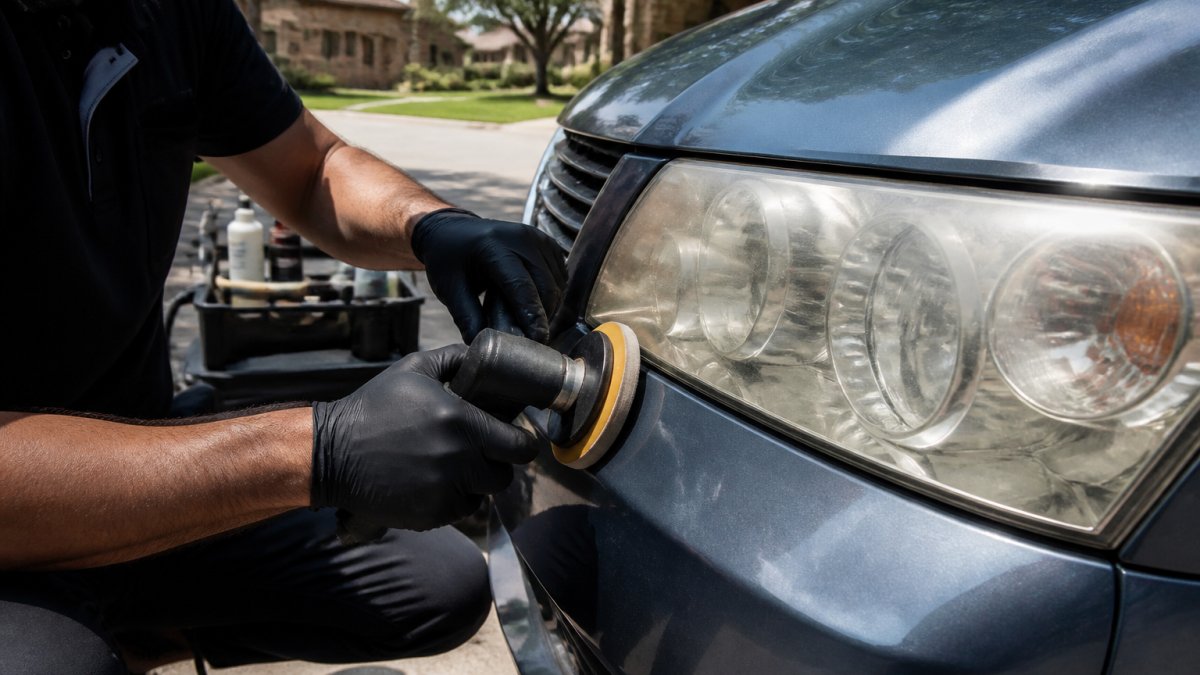
Mobile headlight restoration addresses this directly. Instead of scheduling a shop appointment and losing half your day, a technician comes to your location. At ClearPath Mobile Auto, we bring professional-grade restoration equipment to your driveway, workplace, or parking lot, and the service takes about an hour.
This matters most if you drive frequently after dark or in poor weather. Restored headlights improve your ability to see obstacles, read road signs, and react to hazards.
Understanding Cloudy Headlight Restoration
What Causes Headlights to Cloud and Yellow
Headlight lenses are made from polycarbonate plastic, not glass. Over time, UV rays from the sun break down the plastic surface, creating oxidation. This oxidation builds up as a hazy or yellowed layer on the lens.
Environmental exposure accelerates the process. Heat, road salt, dirt, and UV radiation all contribute, and you'll notice it gradually: first a slight haze, then visible yellowing, then significant light scatter.
Contamination also plays a role. Dust, pollen, and debris settle on the lens and get baked on by heat, compounding the haze and reducing light output further.
Why Yellowed Headlights Reduce Night Visibility
A cloudy headlight doesn't just look dim, it scatters light in all directions instead of focusing it on the road ahead. This means less light reaches the pavement where you need it, even if the bulb itself is still bright.
The effect is measurable. A heavily oxidized headlight can reduce light output by 50% or more, which means shorter sight lines at night and slower reaction time to obstacles.
Visibility also affects how other drivers see you. A yellowed headlight is less noticeable to oncoming traffic, which increases risk at intersections and on highways.
The Headlight Restoration Process: What Professional Service Includes
Professional headlight restoration is a sequence of controlled abrasion and refinement steps, not a single wipe-on product. Understanding the steps helps you judge a quote, ask better questions, and set realistic expectations.
Step 1: Cleaning and Assessment
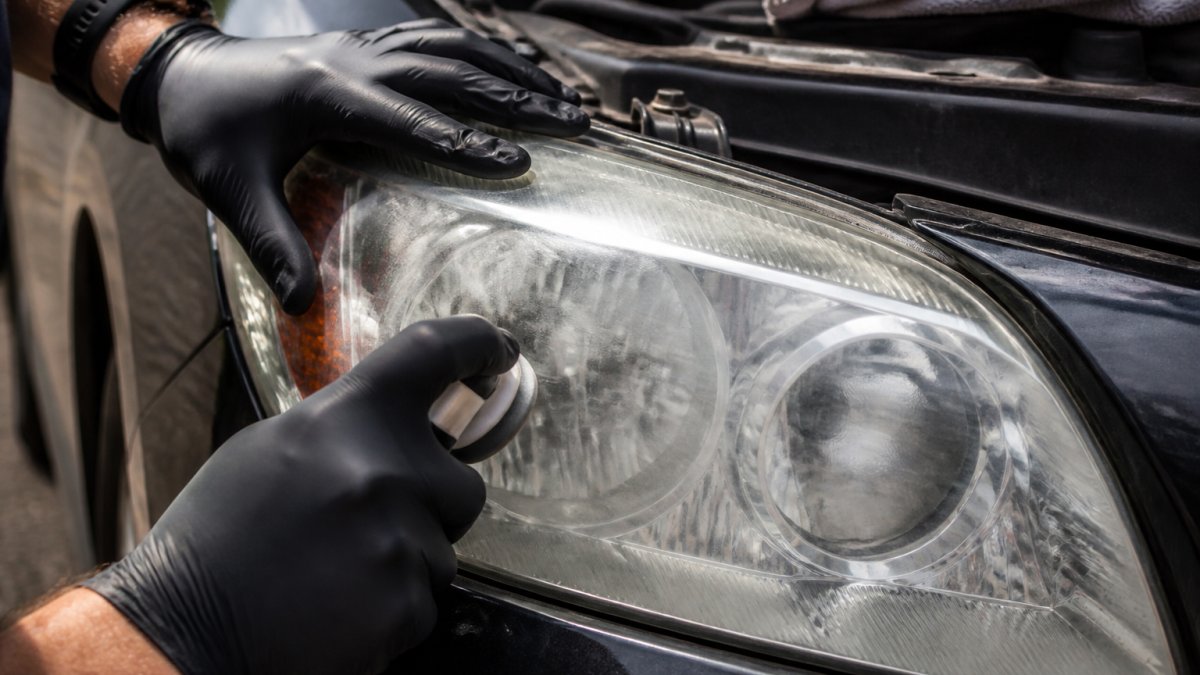
The lens is washed with a mild soap solution to remove road film, bug residue, and loose debris, then inspected under direct light and at an angle to gauge oxidation depth, pitting, and any internal moisture or micro-cracking.
This assessment is a decision point. Surface oxidation on top of the plastic is a good candidate for restoration.
Step 2: Masking and Surface Preparation
Trim, paint, and rubber seals around the headlight are taped off so abrasion and polish don't contact adjacent surfaces. The lens edge is cleaned so the sanding steps work evenly across the full face, not just the center.
Step 3: Multi-Grit Wet Sanding
This is where most of the oxidation is removed. A typical professional sequence steps through progressively finer abrasives, starting around 800 grit to cut the heavy yellow layer, then 1500 and 2000 or 3000 grit to refine the surface. Wet sanding keeps the abrasive from loading up and reduces heat on the plastic.
The grit progression matters. Skipping from a coarse grit straight to polish leaves deep scratches that show up as haze under oncoming headlights, while over-sanding a coarse grit removes more plastic than necessary. A technician reads the surface between steps and adjusts.
Step 4: Machine Polishing
After sanding, a dual-action or rotary polisher with a foam pad and a plastic-specific polish removes the fine scratch pattern left by the final grit. The goal is a smooth, transparent lens that focuses light on the road instead of scattering it.
Polishing is also where technique shows. Too much pressure or speed can burn the plastic; too little leaves a milky finish. The technician checks the lens under bright light at multiple angles before moving on.
Step 5: UV Protective Coating
Bare, polished polycarbonate will oxidize again faster than a coated lens because the factory UV layer was removed during sanding. A professional-grade coating with UV inhibitors is applied evenly across the full lens face and allowed to cure.
The coating is the difference between a restoration that holds up and one that fades. It does not make the lens immune to sun exposure and does not last forever, but it slows the return of yellowing and haze.
What Realistic Results Look Like
A well-executed restoration typically brings back most of the original clarity, but it is not the same as a new lens. Faint pitting, tiny internal marks, or slight texture from deep oxidation may remain visible up close. The improvement is most obvious at night, where restored lenses put more light on the road and reduce glare scatter.
If a lens is cracked through, holds moisture, or has damage that reaches the housing, restoration may not be the right answer. In that case, ClearPath will tell the customer and refer them to a trusted glass shop.
DIY Headlight Restoration Kits vs. Professional Mobile Service
DIY kits are available and relatively inexpensive, typically including sandpaper, polishing compound, and instructions. The appeal is clear: do it yourself and save money.
However, DIY kits have real limitations. Sandpaper grades are limited, which can leave uneven results, and the polishing compounds are often generic.
The protective coating in DIY kits is also typically lighter than what a professional applies, so results fade faster.
Professional mobile service eliminates these variables.
For many vehicle owners, professional restoration offers better results and longer life.
Approach | Time Required | Results Longevity | Consistency | Best For |
|---|---|---|---|---|
DIY Kit | 2-4 hours | 2-4 months | Variable | Budget-conscious experimenters |
Professional Mobile Service | ~1 hour | 1-2 years | High | Most vehicle owners seeking lasting results |
Finding Professional Headlight Restoration Near You
When you're ready for professional restoration, knowing what to look for matters. Not all service providers deliver the same quality or reliability.
What to Look for in a Mobile Service Provider
Start with credentials. A technician should have relevant training and certification. At ClearPath Mobile Auto, Marc is a certified technician with formal training in automotive glass repair and restoration techniques.
Look for transparency in pricing and process. A reputable provider explains what the restoration involves, what results to expect, and the costs upfront. Vagueness about pricing or what's included is a red flag.
Service area is also important. Mobile service is convenient only if the provider actually serves your location.
Ask about warranty or guarantees. A provider confident in their work stands behind it. Our warranty covers workmanship for as long as the original owner owns the vehicle. For details, see clearpathmobileauto.com.
How to Book Same-Day Service
Booking mobile headlight restoration is straightforward. Text a photo of your headlights to (469) 919-2383 for a quick first assessment and quote, with a clear image showing the cloudiness or yellowing.
Response is fast. You'll get a quote and availability within hours in most cases, and same-day when available.
Hours of operation matter for scheduling.
When you book, confirm your location and any parking or access details. The technician arrives at your chosen time with all equipment needed, and the restoration takes about an hour.
Maintaining Your Headlights After Professional Restoration
Restoration brings the lens back; maintenance decides how long it stays that way. The UV coating applied at the end of the service is the main defense, but driving and parking habits either extend or shorten its life.
What Drives How Long Results Last
Four factors dominate durability:
- Sun exposure. UV radiation is the primary cause of oxidation. A vehicle parked outside in full sun every day will see the coating wear faster than one kept in a garage or under a carport.
- Washing habits. Regular washing removes dirt and road film before it bonds to the lens. Letting grime sit and bake in the sun accelerates surface breakdown.
- Coating quality. A professional-grade UV coating with inhibitors holds up longer than the light spray in most DIY kits, and is the single biggest variable between a restoration that lasts and one that fades.
- Climate and road conditions. Heat, dust, and road spray all add stress, so the coating degrades at different rates depending on exposure.
Because of these variables, no provider can promise a specific number of months or years.
A Simple Maintenance Routine
- Wash the headlights with the rest of the car. Use mild soap and a soft mitt or cloth, rinse thoroughly, and avoid abrasive pads, scouring sponges, or harsh degreasers that can scratch the coating.
- Dry with a soft microfiber towel. Water spots left to bake in the sun can etch the coating over time.
- Park in shade when you can. A garage, carport, or covered spot reduces UV load; even partial shade helps.
- Skip wax on the lens unless the product is plastic-safe. Some waxes leave a residue that yellows. For extra protection, use a coating designed for plastic.
How to Inspect and When to Schedule a Touch-Up
Check the lenses every few months under direct light. Look for:
- A faint yellow or milky tint returning at the top edge of the lens, where sun hits first
- Light scatter or a dull spot when headlights are on at night
- A rough or chalky feel under a clean finger
Early cloudiness is easier and less expensive to address than advanced oxidation. A touch-up restoration is typically faster than the initial service because less material needs to be removed. If you notice the first signs, text a photo to (469) 919-2383 for a quick first assessment and quote rather than waiting for the haze to thicken.
What Maintenance Cannot Fix
Maintenance slows oxidation; it does not stop it. The UV coating will eventually wear through and the plastic will begin to haze again, which is normal and expected. A touch-up restoration refreshes the surface and reapplies the coating. If the lens has developed cracks or internal moisture, restoration may no longer be the right path, and ClearPath will say so and refer the customer to a trusted glass shop.
Conclusion
Mobile headlight restoration is one of the simplest ways to improve your night visibility and vehicle safety. Cloudy headlights reduce light output significantly, and professional restoration brings that clarity back in about an hour, at your location.
ClearPath Mobile Auto brings professional headlight restoration directly to your driveway in Anna and the surrounding North Collin County area. We handle the assessment, multi-step restoration, and protective coating application so your headlights stay clear. Text a photo of your headlights to (469) 919-2383 for a quick first assessment and quote, and get same-day service when available.
Frequently Asked Questions
How long does professional mobile headlight restoration last?
Professional headlight restoration is designed to stabilize the condition of your headlight lens and restore clarity. The results depend on driving conditions and UV exposure. A protective coating applied during the restoration process helps extend the results. Regular maintenance and parking in covered areas when possible can help preserve the restoration longer than DIY kit results, which often fade within months.
Can cloudy headlights be restored, or do they need replacement?
Many cloudy and yellowed headlights can be restored through professional cleaning, sanding, and polishing. The process removes oxidation and restores clarity to the lens. Repairability depends on the severity of cloudiness, contamination, and the condition of the lens itself, which is confirmed during an in-person assessment. If restoration isn't possible, your technician will discuss your options.
What's the difference between DIY headlight restoration kits and professional service?
DIY kits offer a temporary solution. Professional mobile headlight restoration uses durable protective coatings that deliver longer-lasting clarity. Professional service also eliminates the risk of uneven results or lens damage from improper technique.
How quickly can I get mobile headlight restoration scheduled?
Same-day appointments are often available. Text a photo of your headlights to (469) 919-2383 for a quick assessment and quote. Hours are Monday through Friday 7 AM to 8 PM and Saturday 9 AM to 4 PM. The technician will confirm availability and schedule service at your home or workplace in the local service area.