
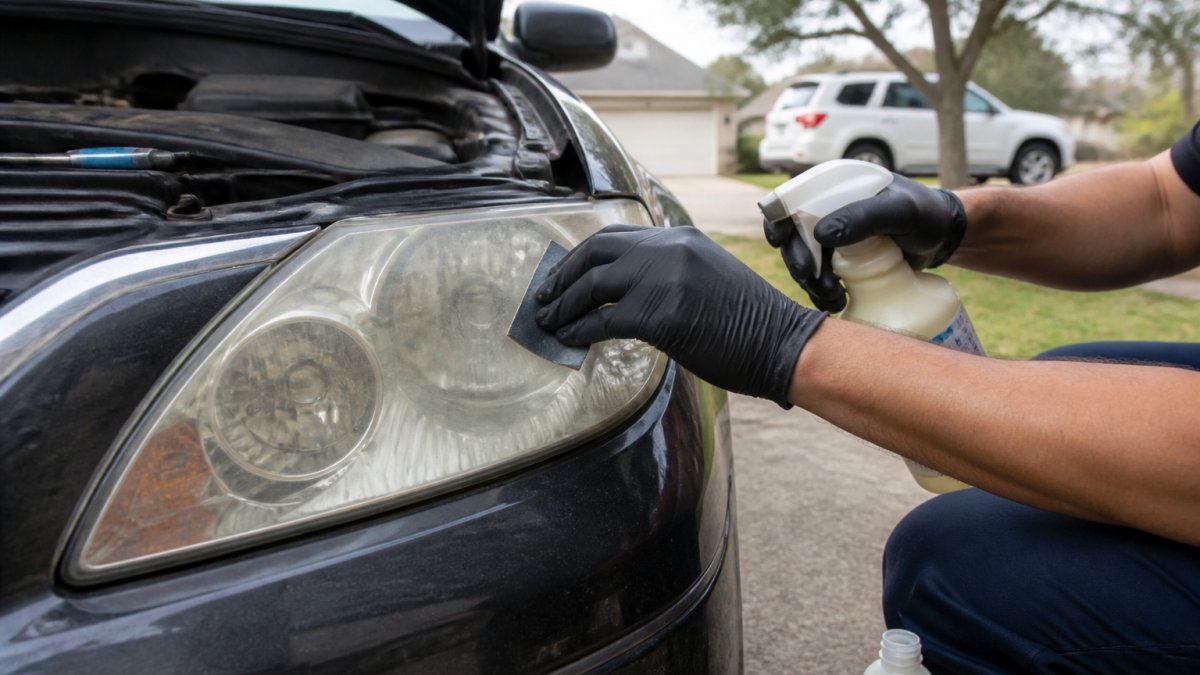
Table of Contents
- What Causes Cloudy Headlights
- Assess Your Headlight Condition Before Starting
- Preparing Your Headlights for Restoration
- Step-by-Step Cleaning and Restoration Methods
- How to Protect Headlights After Restoration
- Professional Headlight Restoration Services vs. DIY
- When DIY Restoration Won't Work
- Frequently Asked Questions
Last Updated: October 16, 2026
What Causes Cloudy Headlights
Learning how to fix cloudy headlight lenses starts with understanding the two main causes: surface oxidation from UV exposure, or moisture trapped inside the lens. Knowing which you're facing helps you pick the right fix.
Surface Oxidation and UV Damage
UV rays break down the plastic coating on headlight lenses over time, creating a cloudy, hazy appearance on the outside surface, yellowing or a white film that dulls light output. This is the most common headlight problem, and it's fixable with cleaning and restoration. The oxidation layer sits on top of the plastic and can be removed with polishing compounds, abrasives, and protective coatings.
Moisture and Internal Haze
Sometimes moisture gets trapped inside the headlight housing, showing up as condensation or a foggy haze behind the lens that doesn't wipe away from the outside. This happens when the headlight seal fails or cracks develop in the housing. Internal moisture is harder to fix with DIY methods and often requires opening the unit to dry it out, so a professional assessment is worth the time.
Assess Your Headlight Condition Before Starting
Before you start cleaning, check what you're dealing with. This saves time and helps you pick the right method.
Look at the lens in bright daylight. Is the haze outside or trapped inside?
Check the edges and seams. Look for cracks, gaps, or water damage around the housing.
Test the light output at night. Cloudy lenses cut visibility, a safety issue, not just cosmetic. Take a photo to compare results after restoration.
Preparing Your Headlights for Restoration
Good prep work makes the difference between a mediocre result and a clear lens.
Mask off the surrounding area. Use painter's tape to protect paint, bumper, and trim, polishing compounds and abrasives can damage paint.
Work in shade or indoors if possible. Direct sunlight makes it hard to see what you're doing and can affect how products cure.
Have clean cloths ready. Use microfiber, not paper towels, which leave lint and cause scratches.
Step-by-Step Cleaning and Restoration Methods
Match the method to the lens condition. A lightly hazed lens and a heavily yellowed one need very different levels of aggression, and the wrong one wastes time or removes more plastic than necessary.
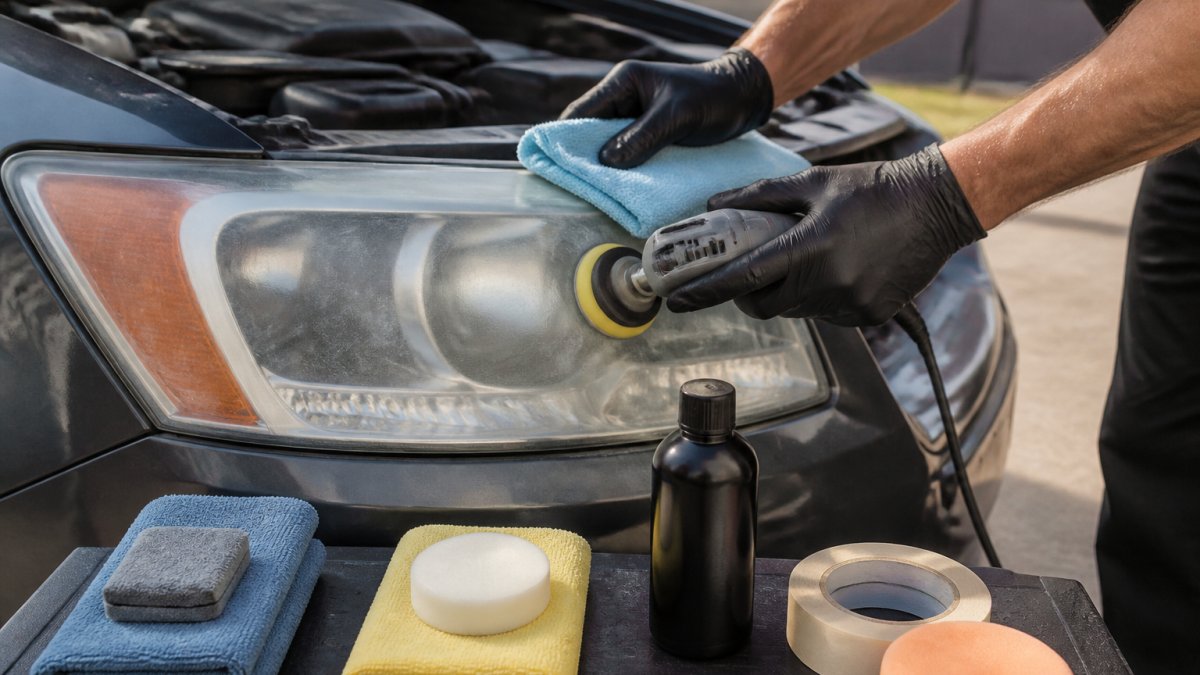
Match the Method to the Condition
| What you see | Likely cause | Best first approach |
|---|---|---|
| Faint white haze, lens still smooth | Early surface oxidation | Household abrasive or a light polish |
| Yellow or amber tint, dull finish | Established oxidation layer | Restoration kit with compound and coating |
| Chalky, rough, or flaky surface | Heavy oxidation | Wet sanding sequence, then polish and coat |
| Fog or droplets behind the lens | Internal moisture | Stop, surface work will not fix this |
| Cracks, chips, or a visibly broken seal | Housing damage | Stop, get an in-person assessment |
Household Methods: Toothpaste, Baking Soda, and Vinegar
These methods work for light cloudiness and cost almost nothing, but only when the lens is smooth and the haze is faint.
Toothpaste method:
- Apply white toothpaste (not gel) to the lens
- Scrub gently with a soft cloth in circular motions for 2-3 minutes
- Rinse thoroughly with water
- Dry with a clean microfiber cloth
Toothpaste is a mild abrasive. It removes light oxidation but won't tackle heavy cloudiness. The results fade quickly without a protective coating.
Baking soda paste:
- Mix baking soda with a little water to form a paste
- Apply to the lens and scrub gently
- Rinse and dry completely
This works similarly to toothpaste, fine for light haze, but temporary.
Vinegar soak:
- Soak a cloth in white vinegar
- Wipe the lens and let it sit for a few minutes
- Scrub gently and rinse
Vinegar helps dissolve oxidation but is weaker than abrasive methods.
Automotive Restoration Kits and Polishing Compounds
Headlight restoration kits include cleaner, compound, and protective coating. They deliver stronger, longer-lasting results than household methods and fit established yellowing where the surface is still intact.
Using a restoration kit:
- Clean the lens with the kit's cleaner
- Apply the polishing compound with the included applicator
- Buff with a microfiber cloth until clear
- Apply the UV protective coating per kit instructions
- Let cure for the time specified (usually several hours)
Kits work on moderate cloudiness, and the protective coating slows future oxidation. Results typically last several months with care. Follow the kit instructions exactly, skipping steps or rushing reduces effectiveness.
Sanding and Polishing Sequence for Heavy Oxidation
Heavy yellowing and thick, chalky oxidation need a multi-step approach: remove the dead oxidized layer in controlled steps, then refine the surface until it polishes clear.
Tools and materials:
- Wet/dry sandpaper in 800, 1500, and 3000 grit
- A spray bottle of water with a drop of dish soap
- Painter's tape
The sanding and polishing sequence:
- Tape off the paint, bumper, and trim around the lens with painter's tape. Abrasive slurry will stain or scratch unprotected paint.
- Wet the lens and start with 800 grit for heavy oxidation, or 1500 grit if the haze is moderate. Sand in one direction, not circles, so you can see when the previous scratches are gone.
- Keep the surface wet the whole time. Rinse the paper often so it does not clog. A spray bottle of soapy water works well.
- Switch to 1500 grit and sand in the opposite direction until the 800-grit scratches are gone.
- Finish with 3000 grit, again in the opposite direction, until the surface looks uniformly hazy but smooth, this is the point where polishing will bring back clarity.
- Wipe the lens clean and dry it completely.
- Apply polishing compound with a foam pad or microfiber cloth. Work it in with light, even pressure, then buff with a clean microfiber cloth until the lens is clear.
- Apply a UV protective coating as the final step. Without it, the plastic will start to oxidize again.
- Allow full curing time before driving.
This method removes more material than household or kit methods. It works on severe cloudiness but requires patience: remove the hazy layer without cutting into the plastic underneath, and keep passes consistent so the finish doesn't look uneven.
Clean Up and Protect the Surrounding Area
Abrasive residue and polishing compound can stain paint, plastic trim, and rubber seals. After you finish:
- Remove the painter's tape slowly and at a low angle so it does not pull on the paint edge.
- Rinse the surrounding area with clean water and dry it with a microfiber cloth.
- Wipe out any compound that crept into panel gaps before it dries.
If you are not comfortable masking and wet sanding near your paint, or if the lens condition is unclear, a professional assessment is the safer path. ClearPath Mobile Auto can evaluate the lens and recommend the right approach. Text a photo of the damage to (469) 919-2383 for a quick first assessment and quote.
How to Protect Headlights After Restoration
Restoration only lasts if you protect the bare plastic afterward. Once you sand or polish away the oxidized layer, the lens has no factory UV coating left, so it will haze again faster unless you seal it. This is the step most DIY guides gloss over.
Why Protection Matters More Than the Polish
Factory lenses come with a thin UV-hardened coating. Sanding and polishing remove it along with the oxidation, exposing the plastic to the same UV rays that caused the problem. Without a new protective layer, oxidation restarts quickly. The polish gets you clarity; the coating keeps it.
Coating Options and How They Compare
| Coating type | How it works | Application | Typical durability |
|---|---|---|---|
| UV clear coat (aerosol or wipe-on) | Forms a thin UV-blocking film over the plastic | Spray or wipe on, let cure | Several months to about a year |
| Ceramic or SiO2 coating for plastic | Bonds a hard, UV-resistant layer to the surface | Wipe on with an applicator, level, cure | Longer than a basic clear coat with proper care |
| Paint protection film (PPF) | A physical clear film that blocks UV and stone chips | Applied wet, squeegeed, edges trimmed | Multiple years |
| Wax or sealant | Sits on top of the surface, mild UV resistance | Wipe on, buff off | Weeks, needs frequent reapplication |
Most restoration kits include a basic UV clear coat, a reasonable starting point. For the longest interval between re-coats, ceramic coating or clear film is more durable. Wax alone is the weakest option, best treated as a short-term touch-up.
How to Apply a UV Coating
- Work in shade or indoors, direct sun can cause the coating to cure unevenly.
- Make sure the lens is completely clean and dry; polish residue keeps the coating from bonding.
- Tape off the paint and trim again so overspray or drips do not land on them.
- Apply in thin, even passes, two thin coats beat one heavy coat.
- Let it cure for the full time on the label before driving or washing.
- Do not touch or wipe the lens during curing.
Keeping the Lens Clear Long-Term
- Reapply the coating on schedule. A basic UV clear coat usually needs refreshing about once a year; ceramic coatings and film last longer but still benefit from inspection.
- Wash with soap and water. Dirt and road film hold moisture and grit against the lens.
- Skip harsh chemicals and abrasives. Solvent-heavy cleaners and gritty polishes strip the protective layer.
If you would rather not handle sanding, coating, and curing yourself, ClearPath Mobile Auto offers professional headlight restoration that comes to your location. A certified technician assesses the lens, chooses the best method, and applies durable protection. Text a photo of the damage to (469) 919-2383 for a quick first assessment and quote. We're available Mon-Fri 7 AM-8 PM, Sat 9 AM-4 PM, and serve the local area with same-day appointments when available. You can also read more about how our work is covered at https://www.clearpathmobileauto.com/warranty.
Professional Headlight Restoration Services vs. DIY
DIY methods work for light to moderate cloudiness and cost less upfront. Professional restoration handles severe cases and often includes stronger protective coatings. ClearPath Mobile Auto offers professional headlight restoration that comes to your location: a certified technician assesses the lens, chooses the best method, and applies durable protection. Professional service makes sense for heavy oxidation or when you value convenience.
When DIY Restoration Won't Work
Some headlight problems can't be fixed with cleaning or polishing alone.
Moisture inside the lens. If condensation is trapped inside the housing, surface restoration won't help.
Cracks in the lens. A cracked housing lets moisture in and reduces light output.
Severe lens damage. Deep scratches, pitting, or large areas of damage may be beyond restoration.
Cloudy headlights reduce visibility and make your vehicle look worn, but most cloudiness is fixable.
Frequently Asked Questions
What causes cloudy headlights?
Cloudy headlights result from oxidation on the plastic lens surface, caused by UV exposure and environmental contaminants. Moisture can also accumulate inside the headlight housing, creating internal haze. Surface oxidation appears as a white or yellow film and is the most common cause. Identifying whether your headlights have surface haze or internal moisture helps determine the best restoration method.
Can toothpaste clear up cloudy headlights?
Toothpaste works as a mild abrasive for light surface haze and is a low-cost household option. It works best on early-stage cloudiness. Apply a small amount to a damp cloth, scrub the lens in circular motions, then rinse thoroughly and dry. For moderate to heavy oxidation, automotive restoration kits or professional polishing compounds deliver more consistent results.
How do you keep headlights from getting cloudy again?
After restoration, apply a UV-protective coating or automotive wax to shield the lens from future oxidation. Reapply protective coating annually or as recommended by the product. Park in shade when possible to reduce UV exposure. Regular cleaning with mild soap and water prevents grime buildup that accelerates yellowing. These steps extend the clarity restored through cleaning or professional restoration.
When should I use a headlight restoration kit instead of household methods?
Use a headlight restoration kit for moderate to heavy oxidation, yellowing, or when household methods haven't worked. Kits include abrasives, polishing compounds, and protective coatings designed for automotive plastic. They provide more durable results than toothpaste or baking soda alone. Follow the kit's instructions carefully, as the sequence of abrasive grits and curing times matters for lasting clarity.